Klarna Express Checkout
Last modified:
Introduction
Klarna Express Checkout (KEC) is an extension of the Klarna for WooCommerce plugin. It adds a button to the cart and product pages that initiates the Klarna Payments flow. When used on a product page, the selected product is first added to the cart before the flow begins.
When the KEC flow is initiated, Klarna authorizes the customer for the amount currently in the cart. Klarna then returns the customer’s shipping details and redirects them to the checkout page, where they can complete the order using Klarna.
Limitations
Since the authorization takes place before the order is actually placed, there are limitations on what changes the customer is allowed to make while remaining in the KEC flow.
For example, if the customer modifies the address details provided by Klarna, the plugin discards the KEC session and reloads the checkout using the standard Klarna Payments (KP) flow instead.
Similarly, if the cart contents are changed, the KEC session is discarded and the standard KP flow is loaded.
Known compatibility issues
Klarna Express Checkout in the standard flow (two-step) requires the Classic Shortcode checkout and is not compatible with the WooCommerce Checkout block.
The newer one-step flow does not have this issue since it doesn’t pass through the checkout page. This flow uses the Cart block and Mini Cart block.

Required WordPress/WooCommerce settings
For Klarna Express Checkout to function correctly, the setting Hide shipping costs until an address is entered must be disabled.
You can find this setting if you go to WooCommerce → Settings → Shipping → Shipping settings.

Related documentation
- Klarna Docs – Express Checkout
Read Klarna’s own Klarna Express Checkout documentation.
Klarna Merchant Portal
To configure Klarna Express Checkout you first need to log in to your Klarna Merchant Portal to retrieve the Client identification needed for activation.
- Log in to your Klarna Merchant Portal.
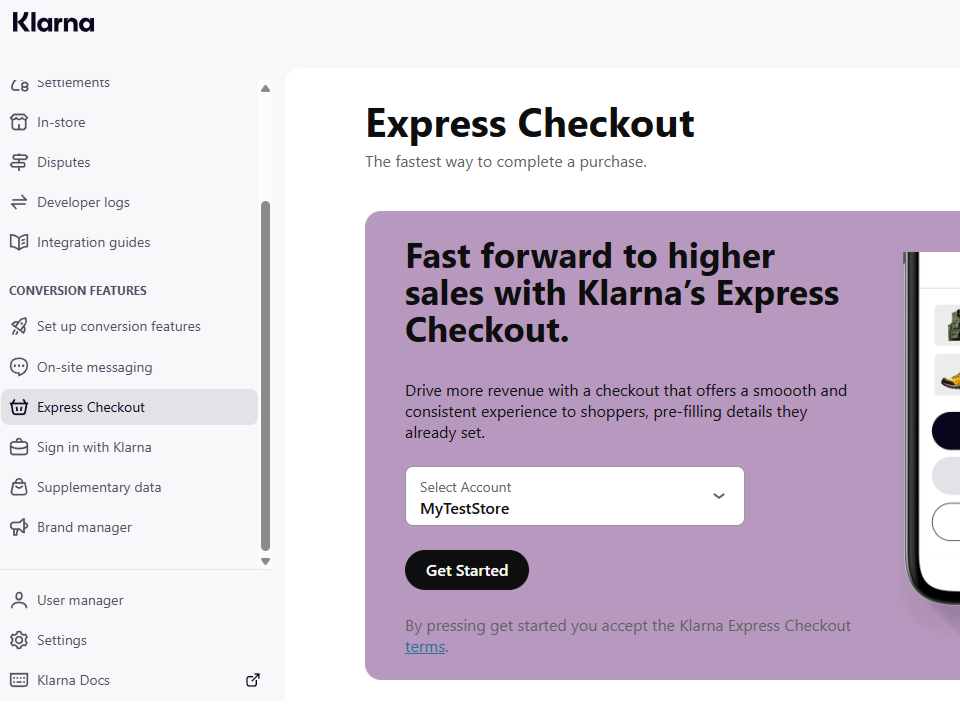
- Navigate to Conversion features → Express Checkout.
- Select your store and click Get started and follow the steps.
- Move on to Activation
You can also access and copy your Client identifier, or generate one, if you navigate to Settings → Client identifier
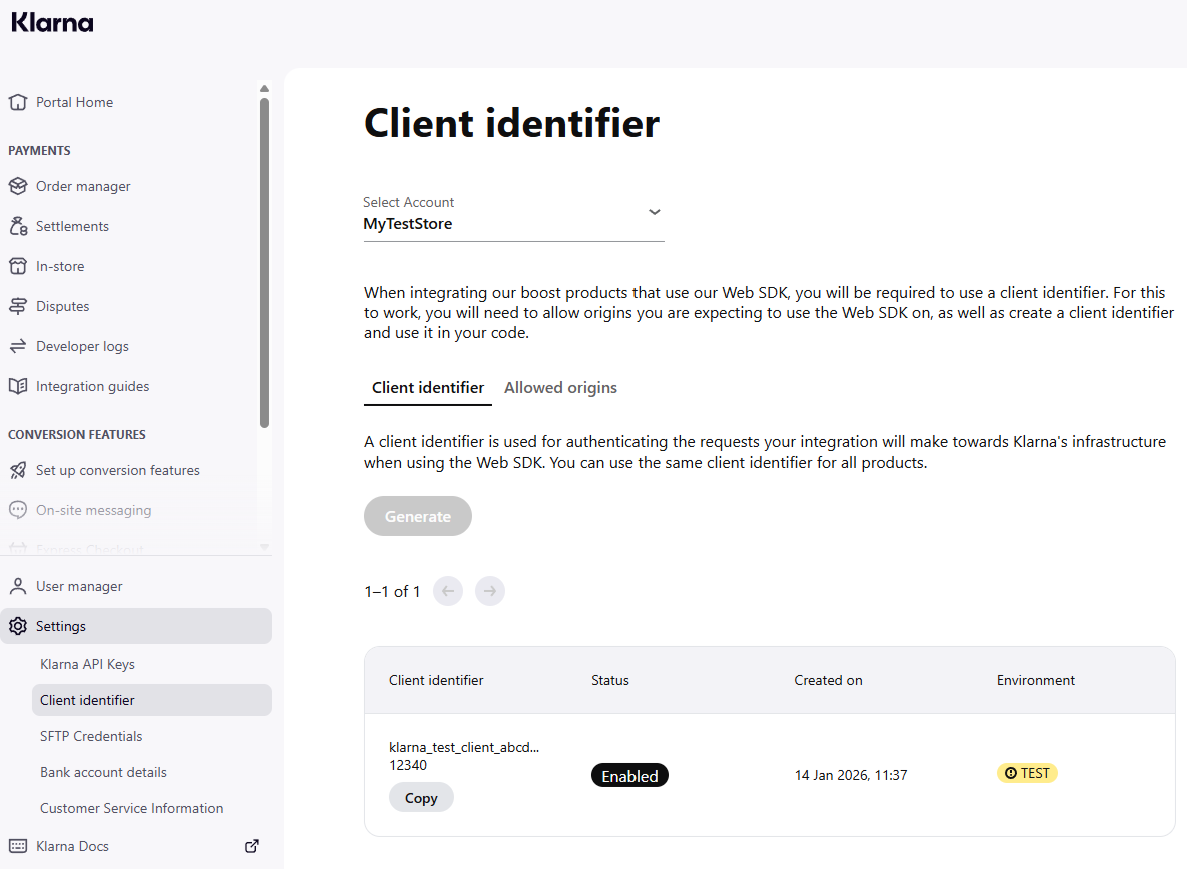
Under the Allowed origins tab, you also register the domain(s) you are expecting to use the Web SDK on.

Activation
Go to: WooCommerce → Settings → Payments → Klarna for WooCommerce.
Client ID – For Klarna Express Checkout to work you need to enter the Client ID in the Credentials section for Klarna for WooCommerce. This is retrieved under the Conversion features tab in your merchant portal.
Copy the Client identifier for your store and paste it in the Client ID field for the country (or region) you wish to activate under the Credentials section.
Please note that Client ID retrieved while the store being in Test mode will not work in Production mode, and vice versa.
Client ID retrieved from Conversion features → Express Checkout:

Client ID retreived from Conversion features → Payment settings:

Configuration
On the Klarna for WooCommerce Settings page, scroll down to the section for Express Checkout to enable and configure placements and style.
- Enable/Disable – Check the Enable Klarna Express Checkout box to activate.
- Theme – Set the theme for Express Checkout. Choose between Light, Dark and Custom (configured under Conversion boosters → Express Checkout in your Klarna Portal).
- Shape – Set the shape of the Express Checkout button. Choose between Rounded, Rectangular and Pill.
- Placements – Select where you want the Express Checkout button to appear. Choose between All, Product pages and Cart page.
- Flow – Select the checkout flow for Klarna Express Checkout – One step or Two step.

- Webhook – For One step Express Checkout to function, Klarna needs to be able to send callbacks to your store. Click the Create Webhook button to create the necessary webhook in Klarna for the Express Checkout.


Express Checkout placement
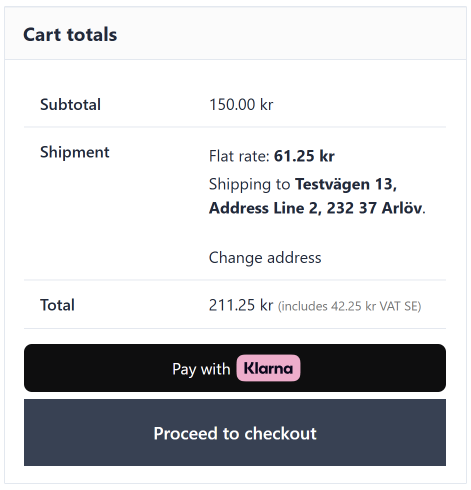
When Klarna Express Checkout is enabled the Pay with Klarna button will be visible for the customers in your shop.
Product page placement

Cart placement
Troubleshooting
Error “We couldn’t load the next screen” in Klarna Express Checkout modal
This error usually occurs when your site URL has not been added as an Allowed origin in your Klarna Merchant Portal.
Klarna Express Checkout requires your domain to be whitelisted. If it is not, the modal cannot load the next step.
For instructions on how to register your domain(s), see the Klarna Merchant Portal section above.
Make sure that:
- The protocol matches your site (
https://vshttp://) - You include the correct domain (and subdomain, if applicable)
- You are updating the correct environment (test vs production)
After updating Allowed origins, clear your site cache and test again.